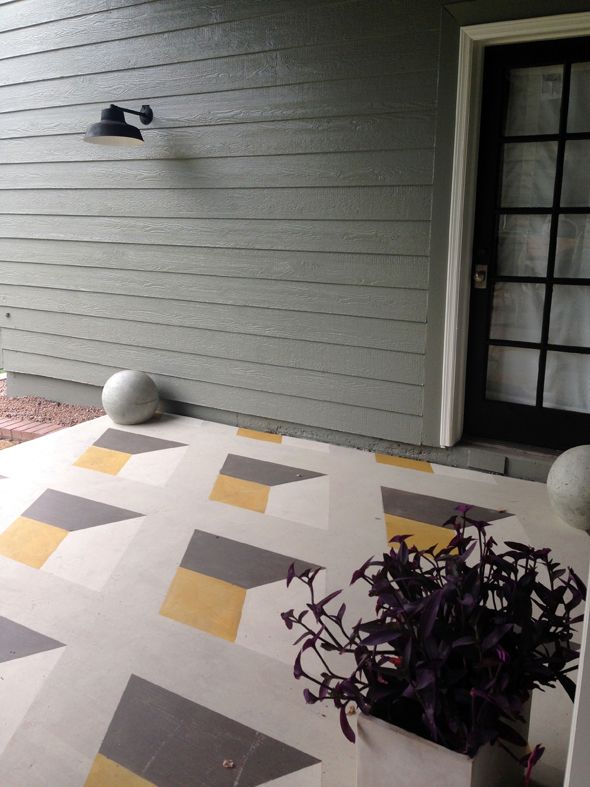
For the longest time, I've had plans to paint a geometric cube pattern on an exterior floor. I really hoped to get to do it on our balcony porch in Brooklyn, but we moved before the weather gave me a good chance to patch the cracked concrete. When we moved to the Valley house I thought this little back porch area we have just off the kitchen and living room would be the perfect chance to scratch that itch!
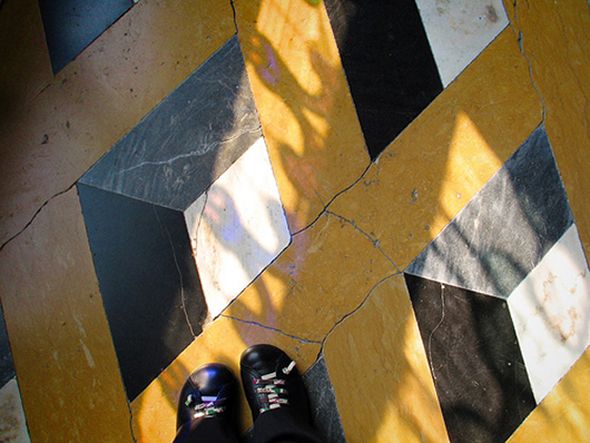
I ended up going with a tumbling block tile in the bathroom, so I wanted this pattern to feel different. I saved this image a while back and it felt like the perfect inspiration - the proportions seemed easy enough to recreate (which, WRONG. Triangles, you kill me!) and it seemed like it wouldn't be too crazy on the eyes when painted on a large surface.
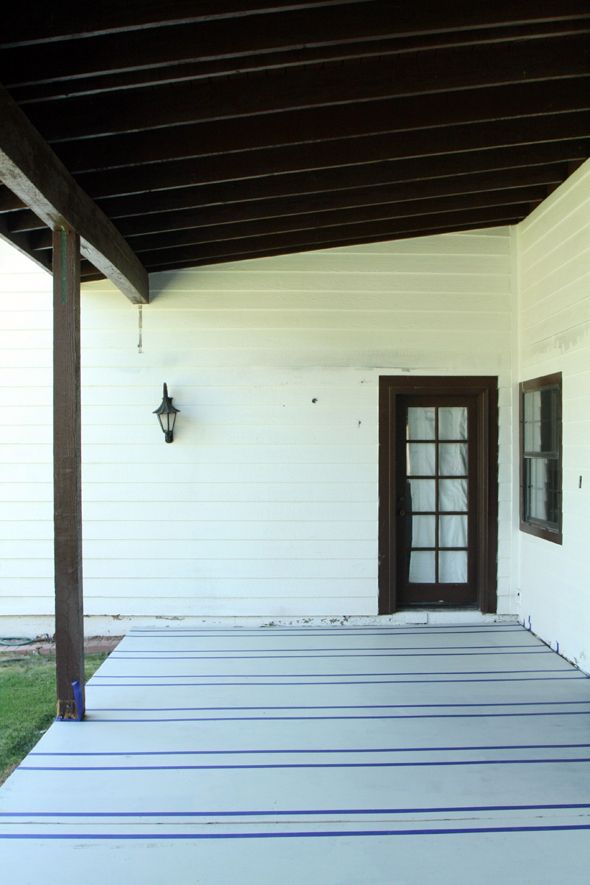
The first step was cleaning the concrete. We used a power wash sprayer to clean the old concrete and then we tried to not step on it before we got the first coat of water-based porch and floor paint down. I ended up watering down the paint because I wanted the finish to be a little mottled or translucent, so it almost, almost looked like a stain instead of paint. I mostly just didn't want the solid, flat look of a painted floor. Not that I was trying to age it, but I also didn't want the floor to look brand new and I think the watery paint helped get that look.
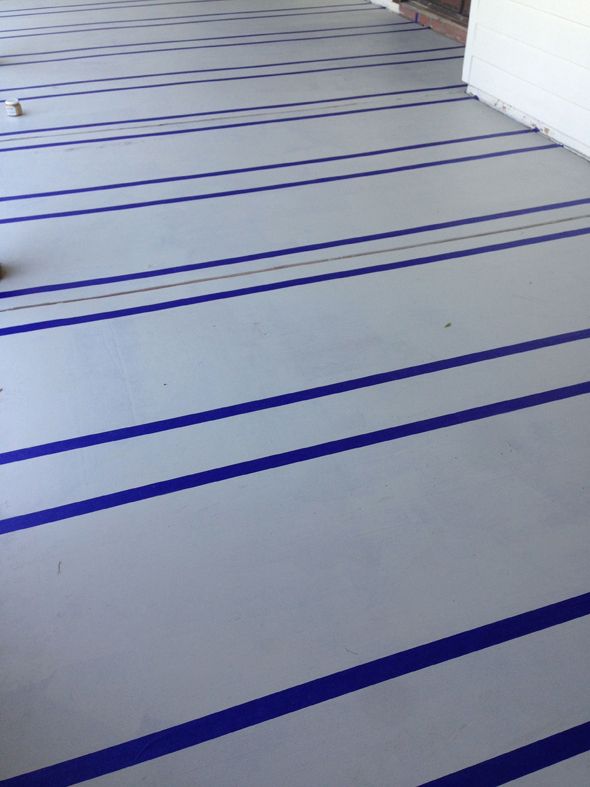
Then Kate and I worked to tape out the beginnings of the pattern. We knew we wanted the pattern to be on the larger side, so we made the main criss-cross pattern 12" wide.
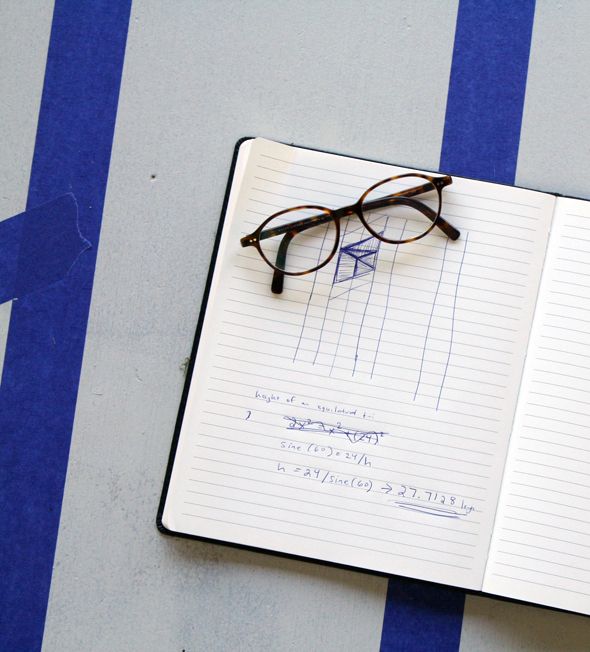
Then it was time to put our heads together and do some serious math. I don't hate math at all, but I can't remember a lot of what I learned in trig and calculus, but luckily my smart husband has a memory like a steel trap and he busted out some formulas that helped us figure out the right angles. The most helpful measurement ended up being the hypotenuse (which was a little under 27 and 3/4"). Once we had that line measurement, we could back our way into the distance between the other angles and lines and it was easy to mark and then lay down the diagonal lines of tape.
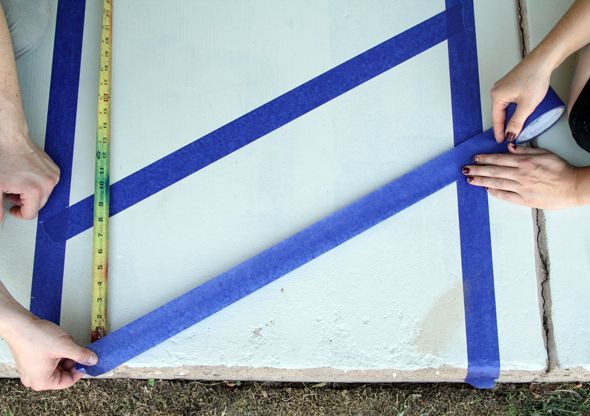
It felt a little tricky when we were in the thick of it, but it really wasn't all that bad. I think I was just nervous because I knew every measurement had to be spot-on perfect for the pattern to look right.
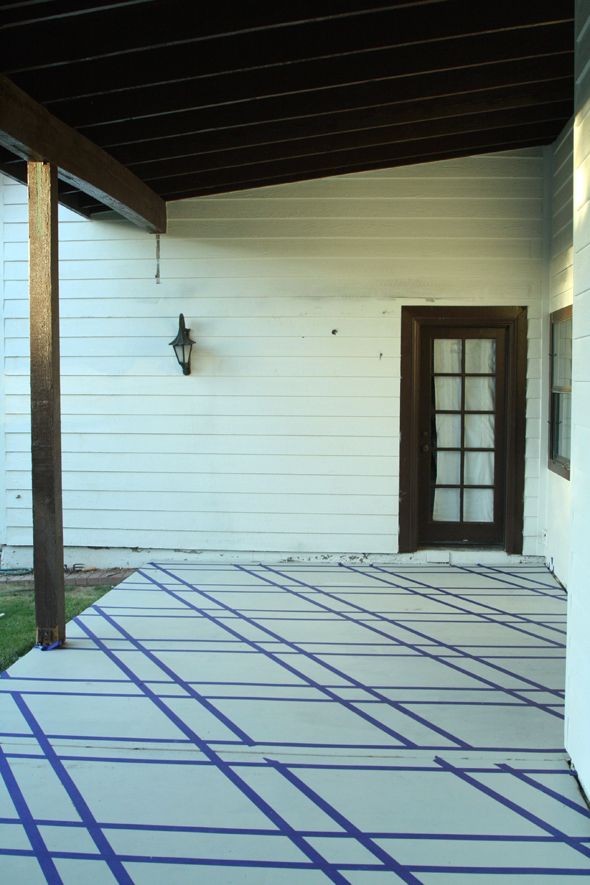
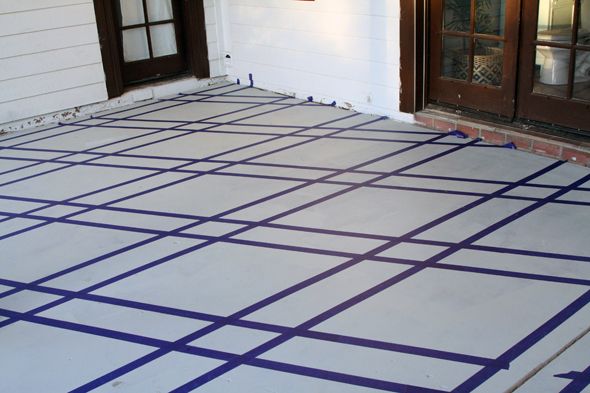
Somehow I can't find the photos of this part, but I divided the 27.71 hypotenuse number in half to figure out the dimensions of a diamond. I draw and cut out a diamond shape on poster board and used it like a stencil to trace out the smaller diamond in each of the larger diamonds. I also used a straight edge to make a line connecting the side point of the smaller diamond with the larger (you can see this in two photos down).

We watered down more porch and floor paint and filled in the shapes. We used Benjamin Moore's Titanium on the background, the white is Swiss Coffee, the yellow is Ochre and the darkest gray is Martha Stewart's Seal.
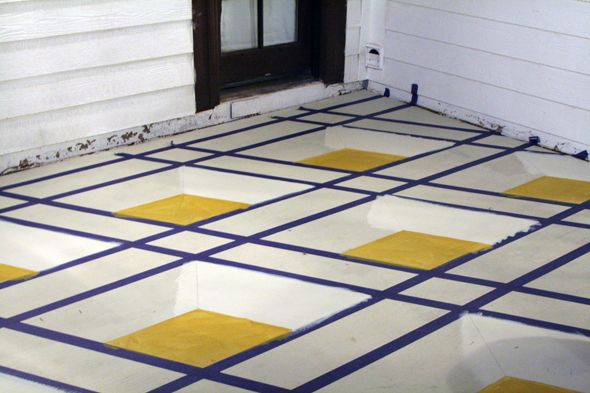
Kate and I have pretty steady painting hands, so I felt comfortable free-handing the lines, but it wouldn't have been too hard to tape off the small shapes one by one for perfectly perfect lines.
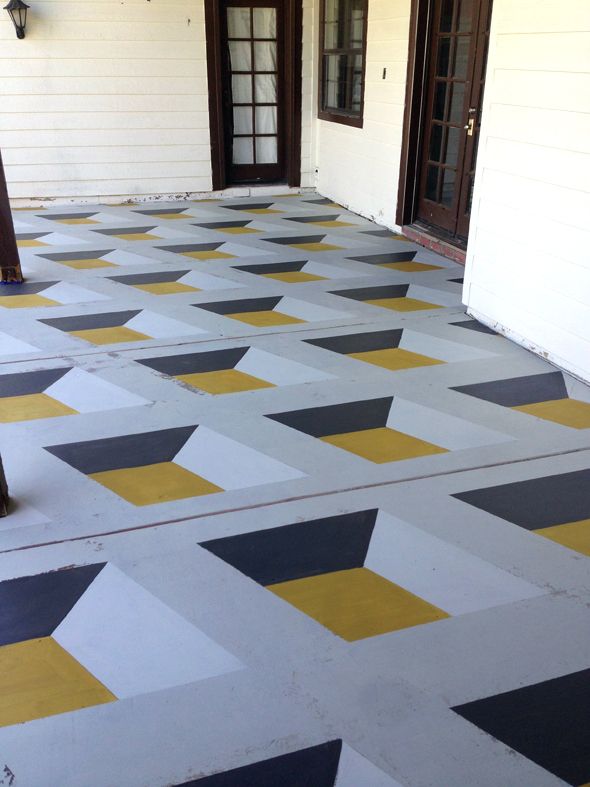
There were some spots that the tape pulled off the bottom layer of paint, but I think that had more to do with the concrete prep than the paint or the tape. I could have easily just touched up the lines and called it good, which we did to a little of, but we used a light hand there and even ended up lightly sanding the whole floor to take some of that new edge off. (again, that was a personal preference thing).

The result was just what I was hoping for. I know this floor is going to take a beating, so I didn't want it to look too precious from the get-go. We put two coats of porch sealer on top, and so far no big problems with scraping or flaking, even in this 115 degree heat! :)


I love seeing the pattern peek through the living room doors, and the girls love playing a crazy version of hopscotch on the pattern. We're excited for better weather too, when we can really start to enjoy the porch again and eat our meals outside. :)
